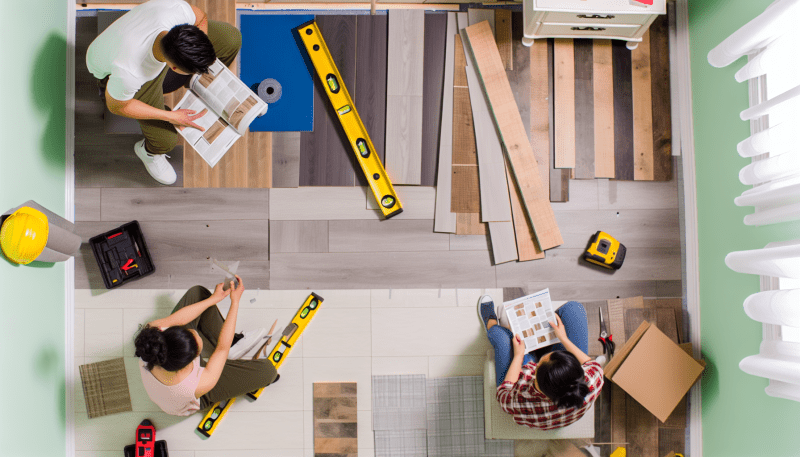
Before diving into your DIY project to replace damaged floorboards, it’s essential to gather the right tools and materials. Having everything on hand will make the process smoother and more enjoyable. Trust me, there’s nothing worse than having to stop halfway through to search for a tool!
Here’s a handy list of what you’ll need:
Once you’ve gathered your tools and materials, you’re all set to start making those replacements. If you take a moment to double-check your supplies and prepare your workspace, you’ll find the whole process much easier and more enjoyable. Let’s get started on your journey to replace damaged floorboards!
Step-by-Step Floorboard Removal Process
Ready to tackle your flooring project? Removing old floorboards can feel daunting, but with a little guidance, you'll be well on your way to replace damaged floorboards with new ones. Here’s a simple step-by-step process to get you started.
Step 1: Gather Your Tools
Step 2: Prepare the Area
Before you dive in, clear the space around the floorboards. Remove any furniture or obstacles to give yourself plenty of room to work. Make sure to wear your protective gear to stay safe.
Step 3: Remove Baseboards
Take off the baseboards using your crowbar or pry bar. Gently slide it between the wall and the baseboard, then carefully pry them off. You’ll want to save them if you plan to reuse them after replacing the damaged floorboards.
Step 4: Pry Up the Floorboards
Now it’s time to remove the floorboards. Start at one end and slide your crowbar under the board. Give it a gentle tap with your hammer to loosen it, then pry it up. Work your way along the board until it comes free. If the boards are nailed down, you might need to remove the nails with your screwdriver as you go.
Once all the damaged floorboards are out, you're set to replace damaged floorboards with fresh ones! Just follow up with proper cleaning and prep work before laying down the new boards. Happy DIYing!
Installing New Floorboards Made Easy
Installing new floorboards might sound like a big project, but it’s actually pretty straightforward, especially if you’re looking to replace damaged floorboards. With just a few tools and materials, you can give your space a fresh look in no time. Let’s break it down step-by-step!
First things first, gather your tools. You’ll need a saw, hammer, nails, a measuring tape, and a floorboard puller if you have stubborn old boards to remove. Don’t forget your safety gear! A good pair of work gloves and some safety goggles will keep you protected while you’re busy getting your hands dirty.
Once you have everything ready, it’s time to remove the old floorboards. Carefully use your floorboard puller to take them out without damaging the surrounding ones. This is essential when you want to replace damaged floorboards without compromising the rest of your flooring. Make sure to clean the area thoroughly before you start laying down the new boards.
Now, it’s time for the fun part! Measure the space accurately to ensure your new floorboards fit just right. Once you have everything measured, cut your new floorboards to size, and start nailing them down. Make sure to check that each board is aligned properly as you go. A little patience here makes a huge difference in the overall look of your new floor!
After all your boards are installed, take a moment to admire your hard work. You’ve not only replaced damaged floorboards, but you’ve also given your room a fresh, updated feel! A good finishing touch can be a coat of polish or sealant to protect your new flooring and keep it looking great for years to come.
Finishing Touches for a Polished Look
When you're ready to replace damaged floorboards, it’s not just about pulling up the old boards and putting down the new ones. The finishing touches really make a big difference! After your new floorboards are in place, it’s time to think about how to polish things off for that professional look.
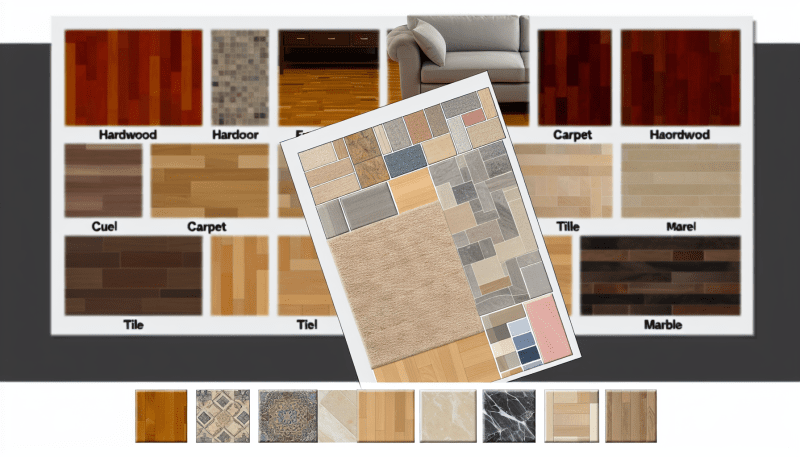
First up, consider the color of your wood stain or finish. Choosing a shade that complements your space will elevate the overall vibe. Take a sample of your new floorboards and see how it looks against the walls and furniture in the room. You want everything to blend seamlessly, so don’t rush this step!
Next, let’s talk about trim. Adding some stylish baseboards or quarter-round can really frame your floor nicely. Not only does it cover the gap where the floor meets the wall, but it also adds a bit of character. Consider going for a style that matches your home’s design — whether that’s modern, farmhouse, or something else entirely.
Lastly, don’t forget about the right seals and finishes. A good polyurethane or wood sealant will protect your new floorboards from scratches and spills. Plus, it can enhance the natural beauty of the wood. Apply it carefully for a smooth, shiny finish that will impress anyone who walks into your space!