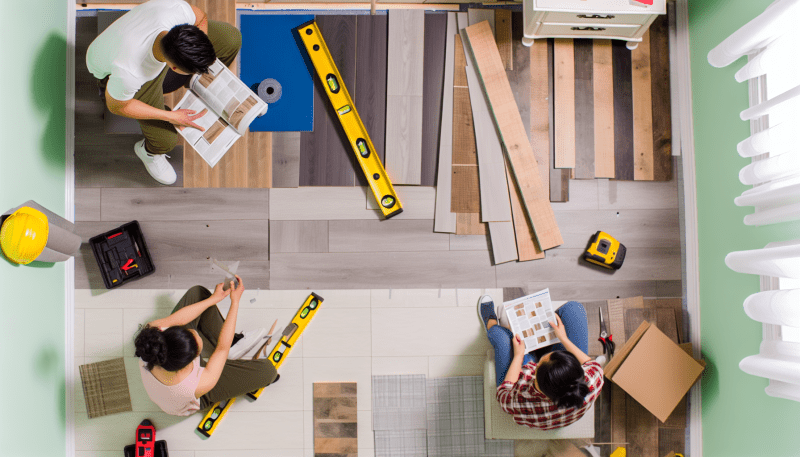
When it comes to cutting flooring for edges, planning is everything. Having a clear idea of what you want to achieve can save you time and headaches. Start by measuring the spaces you're working with. Use a tape measure to get precise dimensions, and don't forget to double check your work. A little preparation goes a long way!
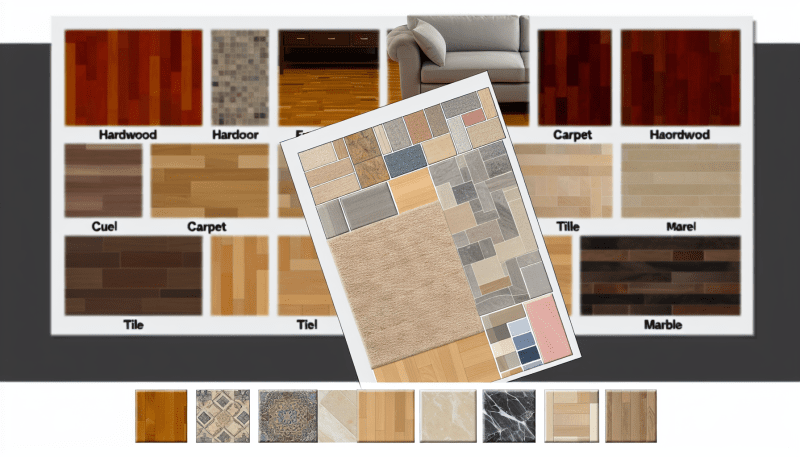
Next, think about the type of flooring you're using. Different materials require different cutting tools and methods. For hardwood, a miter saw or a table saw works best. If you're dealing with laminate or vinyl, a jigsaw or utility knife might do the trick. Knowing the right tools helps you cut flooring for edges more smoothly and accurately.
Once you have your measurements and tools lined up, sketch out your cut plan. Visualizing your cuts can help you identify potential issues before you start chopping away. Mark your cutting lines clearly on the material, and don't shy away from using a straight edge to ensure clean lines. A good plan leads to professional-looking results!
Finally, remember to take your time. Rushing through the cutting process can lead to mistakes, which might result in wasted materials. It's better to be precise and calm than to hurry through and end up frustrated. So, prepare, measure, and cut flooring for edges with confidence. You’ve got this!
Tools You Need for Perfect Edges
When you're ready to cut flooring for edges like a pro, having the right tools by your side can make all the difference. Whether you're a seasoned DIYer or just getting started, having a few key tools can save you time and ensure a clean, professional look.
First up, you can’t go wrong with a high-quality utility knife. This handy tool is perfect for making precise cuts, especially with vinyl or laminate flooring. Look for one with a comfortable grip and easy-to-replace blades to keep your cuts sharp and smooth.
Next, consider adding a circular saw to your toolkit, especially if you're working with thicker materials like hardwood. A well-calibrated circular saw delivers straight cuts and can handle various flooring types easily. Just be sure to use a fine-tooth blade meant for flooring to reduce splintering.
Lastly, don’t underestimate the power of a good measuring tape and square. Measuring accurately is crucial when you cut flooring for edges. A square will help you ensure your cuts are perfectly straight, while a sturdy measuring tape will give you the precise measurements you need every time.
Having these tools at your disposal can simplify the flooring process and elevate your project from good to great! So before you dive into your next flooring venture, make sure your toolbox has these essentials ready to go.
Step by Step Cutting Techniques
Cutting flooring can seem daunting, especially around edges and corners. But with the right techniques, you can cut flooring for edges like a pro! Let’s break it down into simple steps that you can follow.
First off, make sure you have the right tools. You’ll need a measuring tape, a straightedge or square, a utility knife or saw (depending on the flooring material), and safety gear like goggles. Having these on hand will make the process much smoother.
Next, measure carefully. Start by marking the area where you need to make your cuts. Use your measuring tape to get accurate measurements, and don’t forget to factor in any expansion gaps if required. After marking, use the straightedge to draw a clear line where you'll cut. This helps ensure you’re cutting straight.
Once you have your line, it’s time to make the cut. If you’re using a utility knife for vinyl or laminate, score along the line a few times until you cut through. For hardwood, a saw might be necessary. Just take your time and let the tool do the work—no need to rush!
Finally, test the fit before locking everything in place. Lay the cut flooring piece down to check if it fits snugly. If you need to make any adjustments, it’s easier to do it now than after you've installed it. With these simple steps, you’ll be cutting flooring for edges with confidence and ease in no time!
Finishing Touches for a Flawless Look
If you're looking to cut flooring for edges like a pro, don’t forget about those finishing touches that make all the difference. It’s not just about laying the planks; it's about how you complete the look. A well-finished edge can elevate your entire space from “just okay” to “wow!” Here are some tips to get you started.
First off, consider using trim or molding. Baseboards, quarter rounds, or transition strips can neatly cover any gaps and give your floor a polished finish. These elements not only hide imperfections but also add a decorative flair to your room. Plus, they’re super easy to install, even if you're a DIY novice!
Next, think about color and style. Choose trims that match or complement the flooring for a seamless look. You can also go a bit bolder—maybe a contrasting color to make a statement. Just remember, the goal is to enhance, not overwhelm. Make sure everything looks cohesive and works well together.
Lastly, don’t overlook the importance of a good sealant. If you're working with hardwood, applying a finish can protect the edges and keep them looking fresh for years to come. It also adds a nice shine that really pulls your project together. A little care and attention here will go a long way in ensuring your flooring looks amazing!