Before diving into the world of DIY hacks, it’s important to understand your floor situation. Assessing what you’re working with can save you time and effort later on. Start by walking around your space and paying close attention to any spots that feel off. Do you notice dips or slants? Is there a significant bounce when you walk? Taking note of these areas helps you identify where you need to focus.
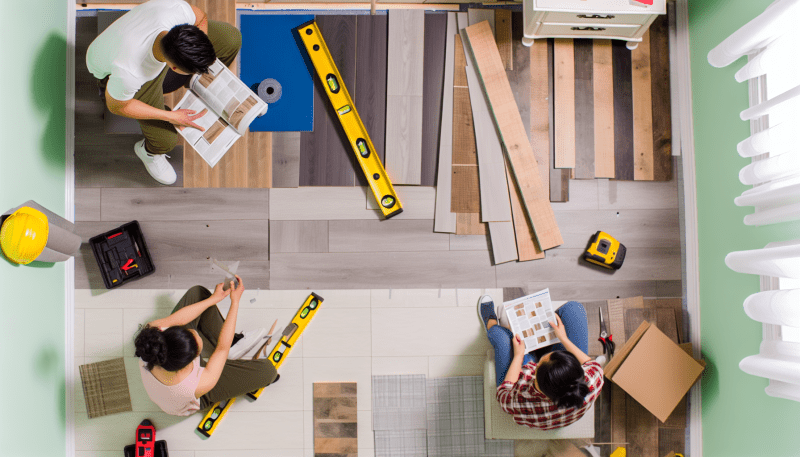
Next, grab a level tool—a cheap investment that makes a big difference. Place it in various areas of your floor. If the bubble isn’t centered, that’s a clear sign that you have unevenness to tackle. Don’t forget to check around door frames and furniture as well, as those can sometimes highlight hidden slopes.
Once you’ve pinpointed the trouble spots, it’s helpful to estimate how much leveling is needed. Measure the dips with a tape measure to get a sense of how significant the issue is. This info will guide you in choosing the right methods and materials for fixing it. Remember, knowing how to level uneven floors starts with understanding the problem area!
If your floors are particularly tricky, consider investigating the cause. Sometimes, it's a sign of a bigger problem, like water damage or foundation issues. If that’s the case, it might be best to consult a professional before starting any DIY work. It’s all about knowing what you’re up against to make informed decisions on how to level uneven floors effectively.
Simple Solutions for Small Uneven Areas
Dealing with small uneven areas can feel frustrating, but don’t worry! There are some simple solutions to help you tackle these spots without breaking a sweat. Knowing how to level uneven floors doesn’t have to be an overwhelming task; with the right tools and tricks, it can be pretty straightforward.
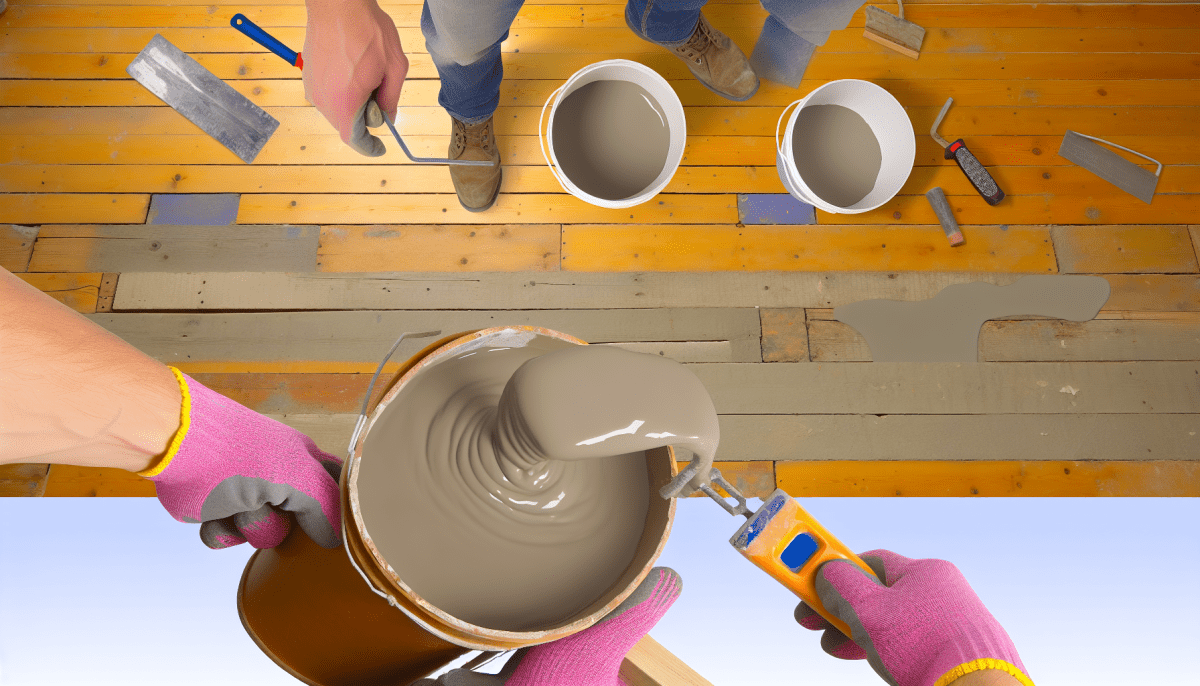
One effective method is using self-leveling compound. This product is great for filling in low spots and creating a smooth surface. Start by sweeping the area to remove any debris, then mix the compound according to the instructions. Pour it into the low areas and let it spread out evenly. Just remember to work quickly, as it tends to set fast!
If you're looking for a budget-friendly option, consider using plywood shims. These little wedges can help raise uneven planks or even out the height between tiles. Simply slide the shims under the affected areas until everything feels more stable. It’s an easy fix that can make a big difference without needed fancy tools.
Another hack involves using floor-leveling mats. They’re specifically designed to go under carpets or other flooring types to help compensate for imperfections. Just roll them out where needed, and you’ll have a much more even surface to walk on. Plus, they add a layer of comfort, making your space feel cozier!
Whether you're using self-leveling compounds, shims, or mats, understanding how to level uneven floors is all about finding the solution that works best for your situation. Just remember, a little effort goes a long way in making your home feel more polished and inviting!
DIY Tools for Floor Leveling Projects
When it comes to leveling uneven floors, having the right DIY tools can make all the difference. Whether you’re tackling a small patch or a whole room, the tools you use will either make the project smooth sailing or a bit bumpy. Here’s a quick rundown of some must-have items that can help you through the process.
First off, a good quality level is essential. A standard 2-foot or 4-foot level will help you see just how much your floor is off. If you're working on bigger spaces, consider a laser level for even more precision. This tool projects a straight line across your room and is super handy for determining exactly where adjustments need to be made.
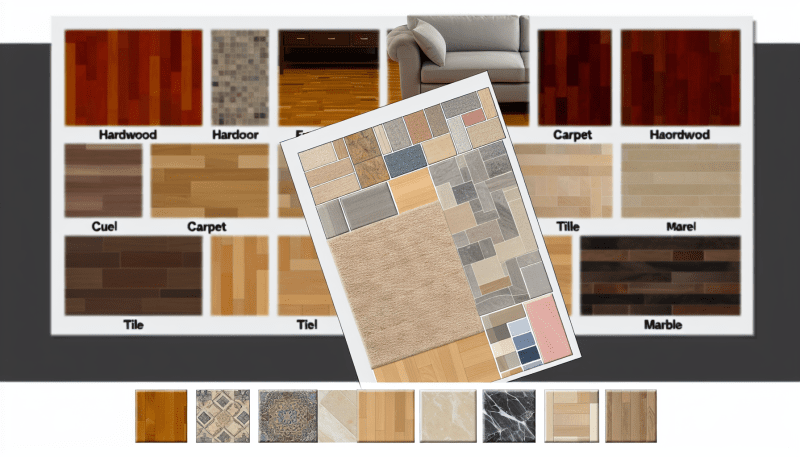
Next on your list should be a self-leveling compound. This is a special product designed to fill in low spots in your floor, creating a flat surface. Just mix it up according to package instructions, pour it onto the floor, and it spreads out on its own. It’s really that simple! Make sure to choose a compound that works well with your floor type, whether it’s tile, laminate, or hardwood.
You'll also need a trowel for spreading the compound. A flat trowel works best for spreading and smoothing out the mixture. If you're tackling bigger areas, a squeegee can help you move the compound around more efficiently.
Lastly, don’t forget about a good vacuum. Keeping your workspace clean is key, especially since dust and debris can mess up your leveling compound. Regular cleaning between steps ensures that the final result looks professional and stands the test of time. With these tools in hand, you’ll be well on your way to learning how to level uneven floors like a pro!
Steps for a Smooth and Even Finish
When you're tackling the challenge of how to level uneven floors, having a solid plan can make all the difference. Here’s a straightforward process to ensure you get that smooth and even finish you’re aiming for.
First, start by identifying the uneven areas. Grab a level and check different spots around the room. It’s essential to mark these uneven spots with chalk or tape. This way, you can easily see where you need to focus your efforts.
Next, prepare the floor. Clear out any furniture and thoroughly clean the area. If there are any loose tiles or carpets, now’s the time to remove those. This ensures that the leveling compound has a clean surface to adhere to, which is key for achieving a smooth finish.
Now, mix your leveling compound according to the manufacturer’s instructions. Pour it onto the lowest areas of the floor, spreading it out evenly with a trowel. Make sure to feather the edges so it blends seamlessly with the surrounding areas. It’s important to work quickly, as you want the compound to spread out before it starts to set.
Finally, once the compound is laid down and has cured properly, take your level again to check for a flat surface. If you still find minor dips or bumps, a light sanding might be necessary. Following these steps will help you understand how to level uneven floors efficiently, giving you the smooth finish your space needs!


