Before you dive into your renovation, it’s important to get set up for success. Taking a few minutes to gather your tools and prep your space can make a world of difference when you install peel and stick tiles. Here’s what you need to do to get ready!
First things first, make sure you have everything you need on hand. Gather these essentials:
Next, clear out the area where you’re going to work. Removing furniture and other items will give you a clean slate, making it easier to measure and cut your tiles precisely. Plus, it helps prevent any accidental damage! Don’t forget to thoroughly clean the surface. Dirt and grime can interfere with the adhesive, so give it a good wipe-down and let it dry completely.
Lastly, it’s a great idea to lay your tiles out before actually sticking them down. This allows you to visualize the pattern and make any adjustments if necessary. It’s much easier to tweak things at this stage than after you start adhering them to the floor or wall. Once you feel good about how everything looks, you’re all set to install peel and stick tiles like a pro!
Gathering Your Tools and Materials
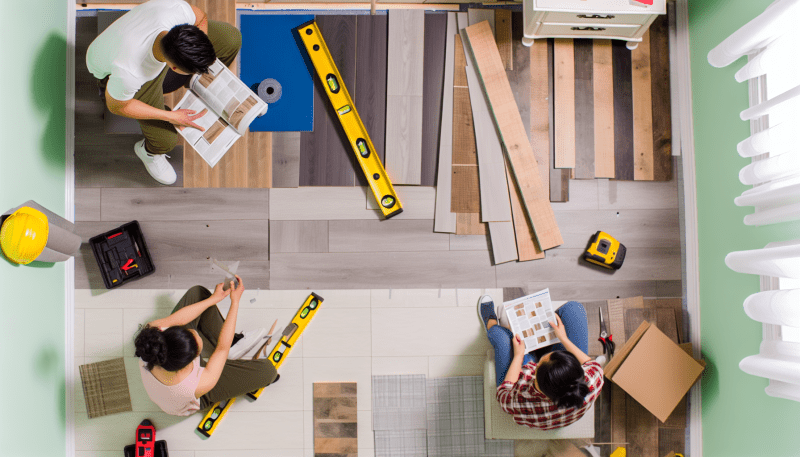
Before you dive in and start to install peel and stick tiles, it's important to gather all your tools and materials. Having everything on hand will make the process smoother and save you time. Here’s what you’ll need:
Once you've got each item ready, you're set to begin your project. It's kind of like prepping for a fun cooking session—everything in its place will help your tiling process flow without a hitch. Remember, taking the time to prepare is just as important as the installation itself when you install peel and stick tiles!
Lastly, don't forget about the surface you're working on! Make sure it's clean and smooth, which will help the tiles stick better. If needed, do a quick clean-up or repair any major imperfections before laying down your tiles. Happy tiling!
Step by Step Installation Guide
Thinking about how to install peel and stick tiles? Don’t worry, it’s a straightforward process! With just a few steps, you can transform your space without too much hassle. Here’s a step-by-step guide to get you started.
1. Gather Your Supplies
Before diving in, grab these essentials:
2. Prepare Your Surface
A good surface makes a world of difference. Make sure your floor or wall is clean, dry, and smooth. If it’s a little rough or uneven, give it a gentle sanding. If you’re installing over existing flooring, just ensure it’s secure and not peeling.
3. Measure and Cut Your Tiles
Now it’s time to measure! Start from the center of the room for a balanced look and mark your starting point. Use your ruler or straight edge to measure your tiles, and carefully cut them with your utility knife as needed. It’s okay to take your time here—precise cuts lead to better results!
4. Stick and Press
Peel off the backing from your first tile, align it with your marks, and press it firmly into place. Make sure to apply even pressure across the tile to eliminate any air bubbles. If you notice any bubbles right away, gently smooth them out or lift the tile and reposition it.
5. Finish Up
Continue installing each tile, staggering your seams for a more natural look. Don’t forget to periodically step back and check if everything looks straight and aligned. Once all tiles are down, you might want to add a trim or sealant around the edges for a polished finish.
Finishing Touches for a Great Look
Once you've decided to install peel and stick tiles, the fun part really begins: adding the finishing touches! These small details can take your space from ordinary to extraordinary, making your new floors look polished and inviting.
Start by considering your trim. Baseboards or quarter-round can really frame your tiles nicely and conceal any edges where the tiles meet the wall. Opt for a color that complements your tiles; it can make a big difference in the overall look!
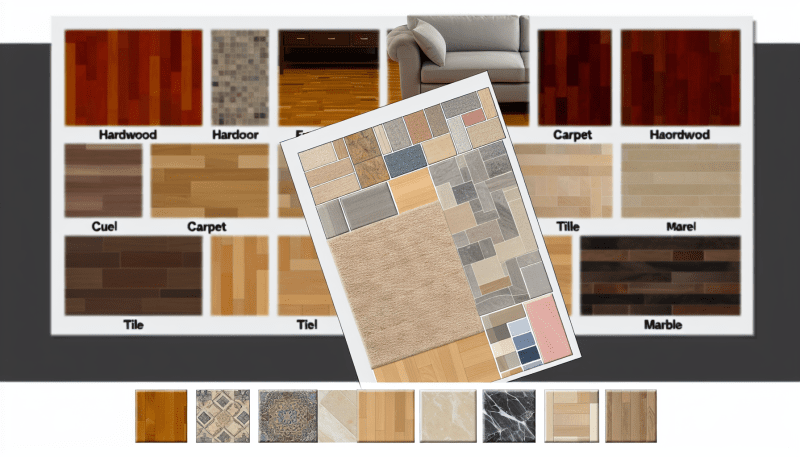
Next, think about how you want to accessorize your space. Adding area rugs can not only enhance the style but also provide warmth and comfort underfoot. Choose rugs that complement your tile design, whether you prefer bold patterns or soft, muted tones. They can act as a perfect contrast to your new tiles!
Don’t forget about furniture placement. Arranging furniture thoughtfully can showcase your newly installed tiles. Make sure to place heavier pieces on the tiles to avoid shifting, especially while they’re settling in. You might also want to use felt pads underneath furniture legs to protect your tiles from scratches.
Lastly, a little decor goes a long way! Wall art, plants, and other decorative items can brighten your space and draw attention to your new flooring. When you install peel and stick tiles, you're not just laying down a floor—you're creating a whole new atmosphere!