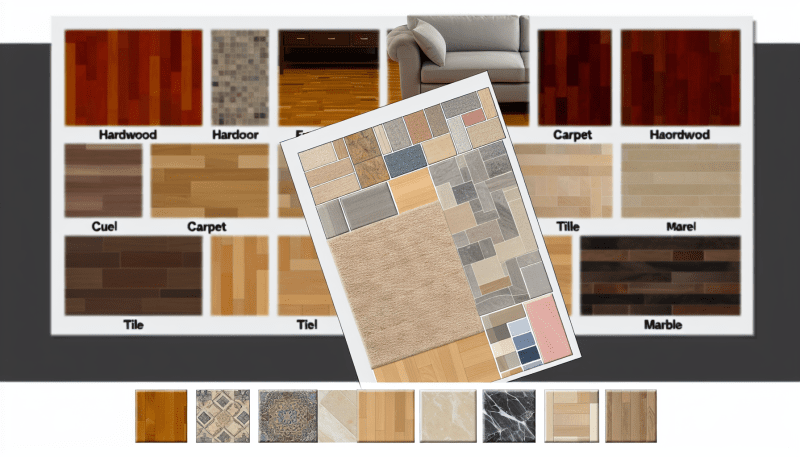
Next, think about the style. Laminate flooring comes in a variety of designs, colors, and textures. Whether you're aiming for a classic wood look or a more modern stone finish, there's something out there for every taste. Take samples home to see how different options look in your lighting before making a final choice.
Another important point is the thickness of the laminate planks. Generally, thicker planks are more durable and feel better underfoot. A thickness of 8mm or more can give you a good balance of comfort and performance. If you're unsure, consult the install laminate flooring guide for additional insights on which thickness might work best for your specific needs.
Lastly, don’t forget about installation methods. Some laminate floors come with a click-lock feature that makes it easier for DIY enthusiasts, while others might require glue or nails. Assess your skills and comfort level before deciding which type to go for. This will help make the installation process smoother and ensure you get the look you want without any headaches.
Preparing Your Space for Installation
Before diving into the actual work of installing your new laminate flooring, it’s super important to prepare your space. A well-prepped area can make a big difference in how smoothly everything goes. Here are some easy steps you can follow to get your room ready for your laminate flooring project.
First, clear out the space. Move all furniture, rugs, and any other items out of the way. If you’re working in a larger room, consider dividing it into sections so you can tackle one part at a time without feeling overwhelmed. Once everything is out, take a moment to clean the floor thoroughly. Dust and dirt can get trapped under the new flooring, leading to issues down the road.
Next, check the subfloor. This layer is super important as it provides support for your laminate flooring. Make sure it's level and dry. Any uneven areas might need to be filled or smoothed out. If there are any damaged sections, now’s the time to repair them. While you're at it, make sure to check for any moisture issues—as water can wreak havoc on laminate.
Finally, acclimate your laminate flooring before installation. This means letting the planks sit in the room for at least 48 hours. This helps them adjust to the room's temperature and humidity, making them less likely to expand or contract after installation. Just follow these steps, and you'll be ready to use the install laminate flooring guide to get the job done easily and efficiently!
Step-by-Step Installation Process
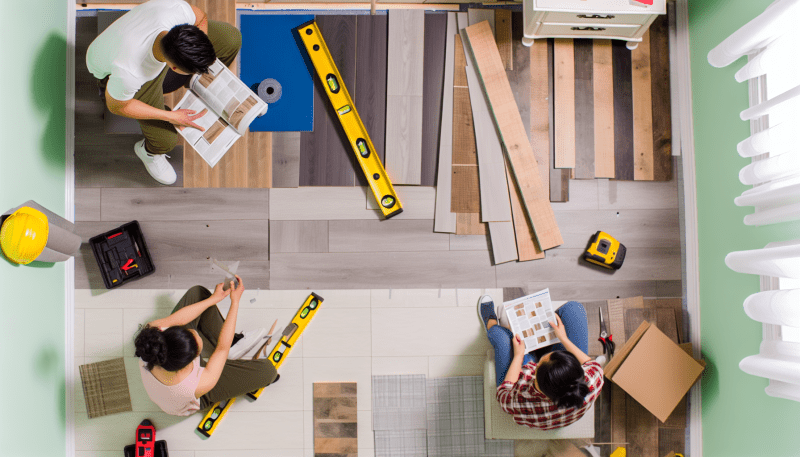
Step 1: Gather Your Tools
Before you begin, make sure you have everything you need. Grab a tape measure, a saw (a miter saw works great), a hammer, a tapping block, and some spacers. You’ll also want a utility knife for trimming any edges. Having all your tools handy makes the process smoother!
Step 2: Prepare the Subfloor
It’s important to make sure your subfloor is clean, dry, and level. Remove any old flooring, and fill in any gaps or holes. If it's a concrete slab, you may want to lay down a moisture barrier to protect your laminate. Once that’s done, let’s get to the fun part!
Step 3: Lay Down the Underlayment
Place the underlayment over your prepared subfloor. This helps with sound insulation and provides a cushion for your new flooring. Make sure the seams are butted tightly together, but don’t overlap them. It’s like giving your laminate flooring a cozy blanket!
Step 4: Start Installing the Planks
Now for the big moment! Start in one corner of the room and lay the first row of planks. Use spacers between the planks and the wall to allow for expansion. As you work through the rows, you can tap the joints together gently with a tapping block to ensure a snug fit. Repeat this until your entire space is covered. Remember, this install laminate flooring guide is all about taking your time and enjoying the process!
Finishing Touches for a Perfect Look
Once you've installed your laminate flooring, it's time to think about those finishing touches that really tie everything together. These details can make a big difference in how your space looks and feels.
First up, let’s talk about baseboards. Installing new baseboards can complement your flooring and bring a polished look to the room. You can choose from various styles, so pick something that fits the vibe of your home. Make sure to paint or stain them to match or contrast with your laminate for that extra pop.
Next, adding transition strips is a great way to seamlessly connect your laminate to other types of flooring or thresholds. They not only look good but also serve a purpose by preventing wear and tear at the edges. There are different styles available based on your flooring type, so keep that in mind as you shop.
Finally, don’t forget about the little things! Rugs and furniture placement can create a cozy atmosphere. A well-placed rug can soften the overall look and add warmth. Plus, consider using some rugs with non-slip backs to keep everyone safe, especially in high-traffic areas. With these tips from your install laminate flooring guide, you’ll create a beautiful, cohesive space that you’ll love showing off!