Choosing the right vinyl plank flooring can make a big difference in how your space looks and feels. With so many options out there, it’s easy to feel overwhelmed. Don’t worry! Here are some tips to help you make the best choice for your home.
First, think about where you plan to install vinyl plank flooring. Different types of vinyl are better suited for certain areas. For high-traffic spaces like living rooms or hallways, look for thicker planks that can stand up to wear and tear. If you’re focusing on bathrooms or kitchens, make sure to go with waterproof options to avoid damage from spills.
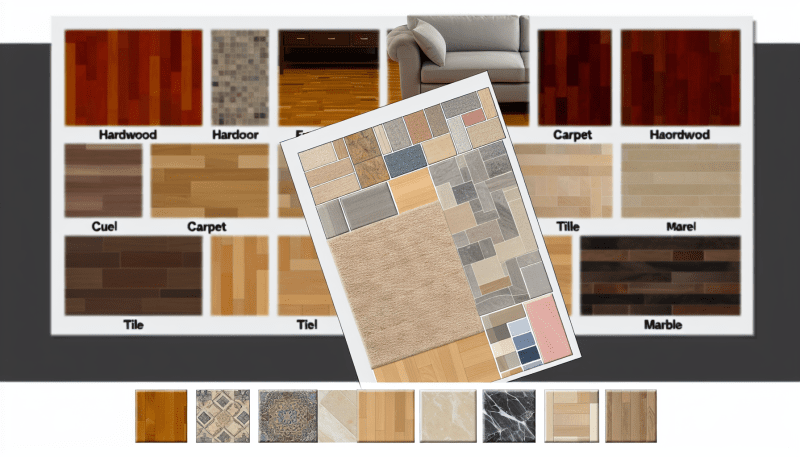
Next, consider the style and design. Vinyl plank flooring comes in a wide range of colors and textures. Do you want something that mimics hardwood, or are you looking for a fun pop of color? Take swatches home if possible and see how they look in your natural light before you decide.
Lastly, don’t forget about the installation process. Some vinyl plank flooring comes with a click-lock design that makes it super easy to install yourself, while others might need glue or staples. Think about your comfort level with DIY projects. If you’re not sure, ask a friend or consider getting a professional to help you out.
Prepare Your Space for Installation
Getting your space ready for installation is a crucial step that can make your vinyl plank flooring project go much smoother. Before you dive into the installation process, take a moment to prepare your area. This will help ensure a great-looking result and make your job easier.
First, clear the room completely. Move out any furniture, rugs, and other items. It’s easier to install vinyl plank flooring in a clean, open space. Plus, it keeps your belongings safe from scratches or damage during the installation.
Next, check the condition of your subfloor. Make sure it’s clean, dry, and level. If you notice any bumps or dips, now’s the time to fix those. A flat surface is key to ensuring your new flooring looks fantastic once installed. You can sweep up dust and debris, then use a leveling compound if needed.
Finally, let the vinyl planks acclimate. Leave them in the room for at least 48 hours before you start the install. This allows the planks to adjust to the room’s temperature and humidity, which helps prevent any issues down the line. Trust me, you don't want to deal with buckling or warping after you've worked so hard to install vinyl plank flooring!
Step-by-Step Installation Guide
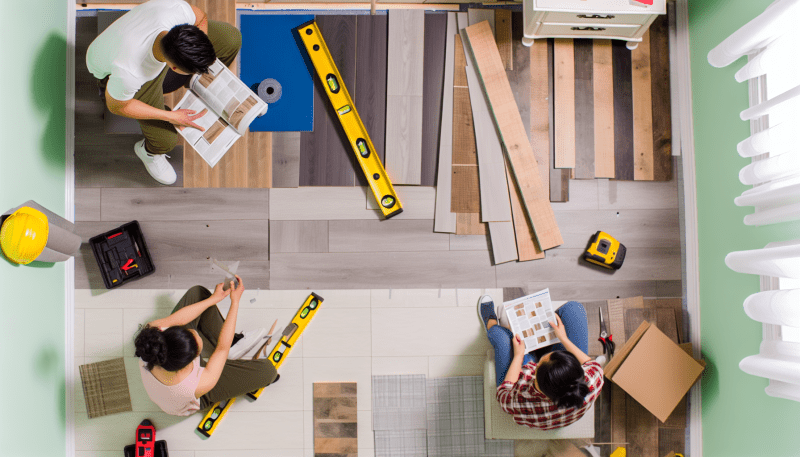
Ready to install vinyl plank flooring? This step-by-step guide will help you tackle the job with confidence and ease. Let’s get started!
Step 1: Gather Your Tools and Materials
Step 2: Prepare the Floor
Start by clearing the area where you’ll be installing the vinyl planks. Make sure to clean the subfloor thoroughly and check for any imperfections. You want a smooth, dry surface for the best results. If your subfloor isn’t even, consider using a leveler for a flat finish.
Step 3: Measure and Cut Your Planks
Now it’s time to measure your space. Use the measuring tape to determine how many planks you’ll need. When you’re ready to cut, lay out the vinyl planks in a dry-fit pattern to see how they fit before making any cuts. Remember, it’s better to measure twice and cut once!
Step 4: Start Installing
Begin installing vinyl plank flooring in one corner of the room. Place the first plank against the wall with spacers to allow for expansion. Press the next plank into place, locking it in with a gentle tap from the mallet. Continue this process, staggering your joints for a natural look. Don’t forget to leave a gap around the edges for expansion!
Finishing Touches and Maintenance Tips
Once you’ve finished the main part of your project and install vinyl plank flooring, it’s time for the finishing touches. These little details can make a big difference in how your floors look and function. Start by trimming any excess material along the edges for a clean finish. Use baseboards or quarter-round molding to cover any gaps between the planks and the wall. This not only gives your space a polished look but also protects your flooring from dust and debris.
Next up, let’s talk maintenance! Keeping your vinyl plank flooring looking its best doesn’t take much effort. Here are some simple tips:
Lastly, consider doing a periodic deep clean. You can mop your floors with a damp mop and a gentle cleaner to keep them shining. Just make sure not to soak the planks, as excessive water can cause damage over time. By following these tips, you can enjoy your beautifully installed vinyl plank flooring for years to come!