When diving into a flooring project, having the right tools is half the battle. Whether you're laying down hardwood, tile, or laminate, there are a few must-have DIY flooring tools that can make your life so much easier. Let’s break down what you really need to get the job done right.
First up, a reliable tape measure. This is your best friend when it comes to measuring out your space accurately. No one wants to cut flooring more than they have to, so getting those measurements right the first time is key. A 25-foot tape is generally a good size for most projects.
Next on the list is a square. This handy tool helps ensure your cuts are straight and your angles are just right. It's especially crucial for tile work or laying down planks, where precision can make or break the look of your finished floor.
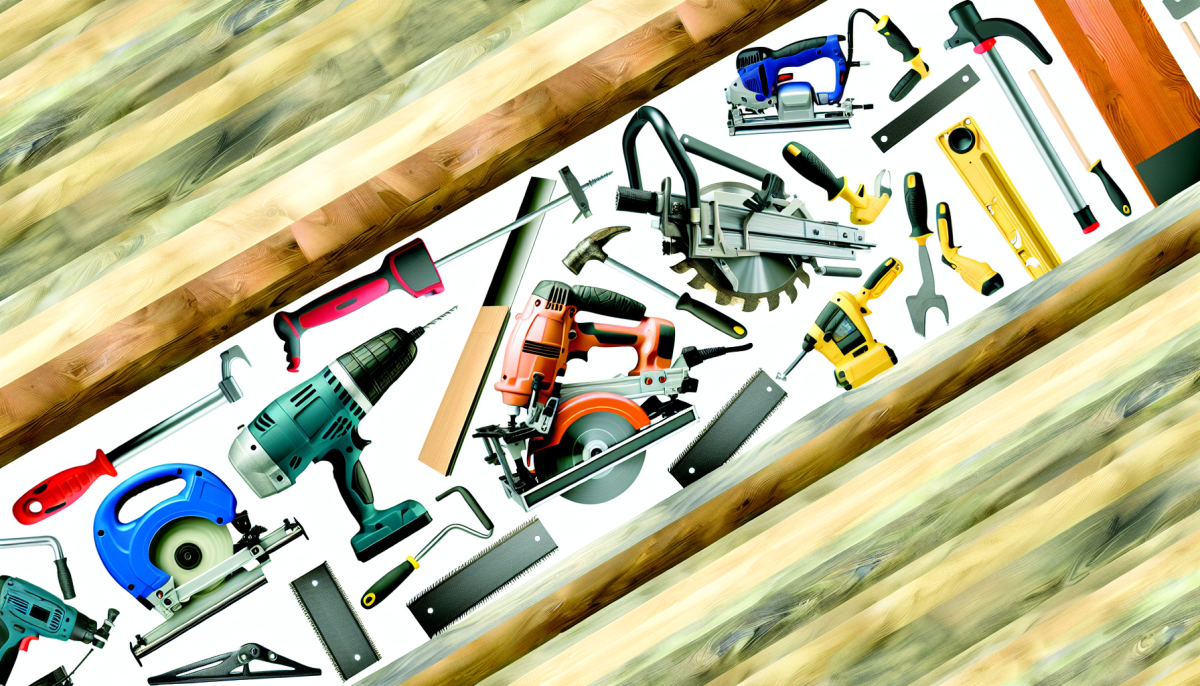
Another essential DIY flooring tool is a circular saw or a jigsaw. These will help you make the necessary cuts to fit your flooring perfectly around corners and edges. If you’re working with thicker materials, a table saw can also be a great investment for those straight cuts.
Don't forget your kneepads! This isn’t a tool in the traditional sense, but trust me, your knees will thank you after a day of laying floors. Protecting yourself while you work will help you stay comfortable, so you can focus on getting the job done right without distractions.
Essential Gear for Smooth Installation
Utility Knife: This should be one of your go-to tools. It’s perfect for cutting underlayment or vinyl planks to size, and you can replace the blades easily when they dull.
Measuring Tape: A reliable measuring tape is a lifesaver. Precise measurements can save you from costly mistakes, so don’t skip this tool!
Pull Bar: If you’re working with tongue-and-groove flooring, a pull bar is essential for snugly fitting the boards together, especially in tight spaces. It will help you get that perfect finish.
Mallet: A rubber mallet can help tap the pieces into place without damaging them. It’s especially handy when you need to nudge a stubborn plank.
Flooring Saw: Depending on your flooring type, a specialized saw might be necessary for making clean cuts. A miter saw is great for quick and accurate cuts on wood and laminate.
Having these DIY flooring tools in your arsenal will make your installation process smoother and more enjoyable. Remember, a little preparation goes a long way, so gather your tools and get ready to bring your flooring vision to life!
Helpful Accessories for Easy DIY
When it comes to tackling your flooring project, having the right DIY flooring tools can make all the difference. But let’s not forget about those helpful accessories that can turn your task from daunting to doable. Here’s a quick list of must-have items that can complement your toolkit and make the job easier.
Measuring Tape: While it seems basic, a quality measuring tape ensures you cut accurately. Look for one that’s at least 25 feet long—this gives you enough range for bigger rooms.
Tile Spacers: If you’re laying tiles, don’t skip on spacers! They help keep your gaps uniform, giving your floor that professional look.
Flooring Rollers: After laying down your flooring, a roller can help press everything down evenly, preventing those annoying bubbles from appearing.
Utility Knife: A handy utility knife is essential for cutting materials precisely. It’s lightweight and easy to maneuver, perfect for the little adjustments you might need.
Safety Gear: Always prioritize your safety! Grab a pair of knee pads and some safety goggles. Your knees will thank you, and your eyes will stay protected from debris.
These accessories are simple but can greatly enhance the effectiveness of your DIY flooring tools. They help streamline the process, allowing you to focus on making your flooring look fantastic!
Tips to Choose the Right Tools
Choosing the right tools for your flooring project can make a huge difference in how smoothly everything goes. Here are some tips to help you pick the best DIY flooring tools:
Consider Your Project Size: Before diving into your shopping spree, think about how big your flooring space is. Some tools are better for small areas, while others can handle larger spaces efficiently. Make sure to get tools that suit the scale of your project.
Check for Versatility: Many DIY flooring tools can serve multiple purposes. Look for tools that can handle a variety of flooring types, from vinyl to hardwood. This not only saves you money but also space in your garage!
Read Reviews: Don’t skip this step! Check out customer reviews to see how well the tools perform in real-life projects. Look for comments about durability and ease of use—they can give you a good idea of what to expect.
Set a Budget: DIY flooring tools can vary widely in price. Decide how much you’re willing to spend before you start shopping. Keep in mind that sometimes, it's worth investing a little more for better quality that will last longer.
Try Before You Buy: If you can, visit a local store where you can handle the tools before purchasing. Getting a feel for the weight and grip can help you find tools that are comfortable and easy to work with.


